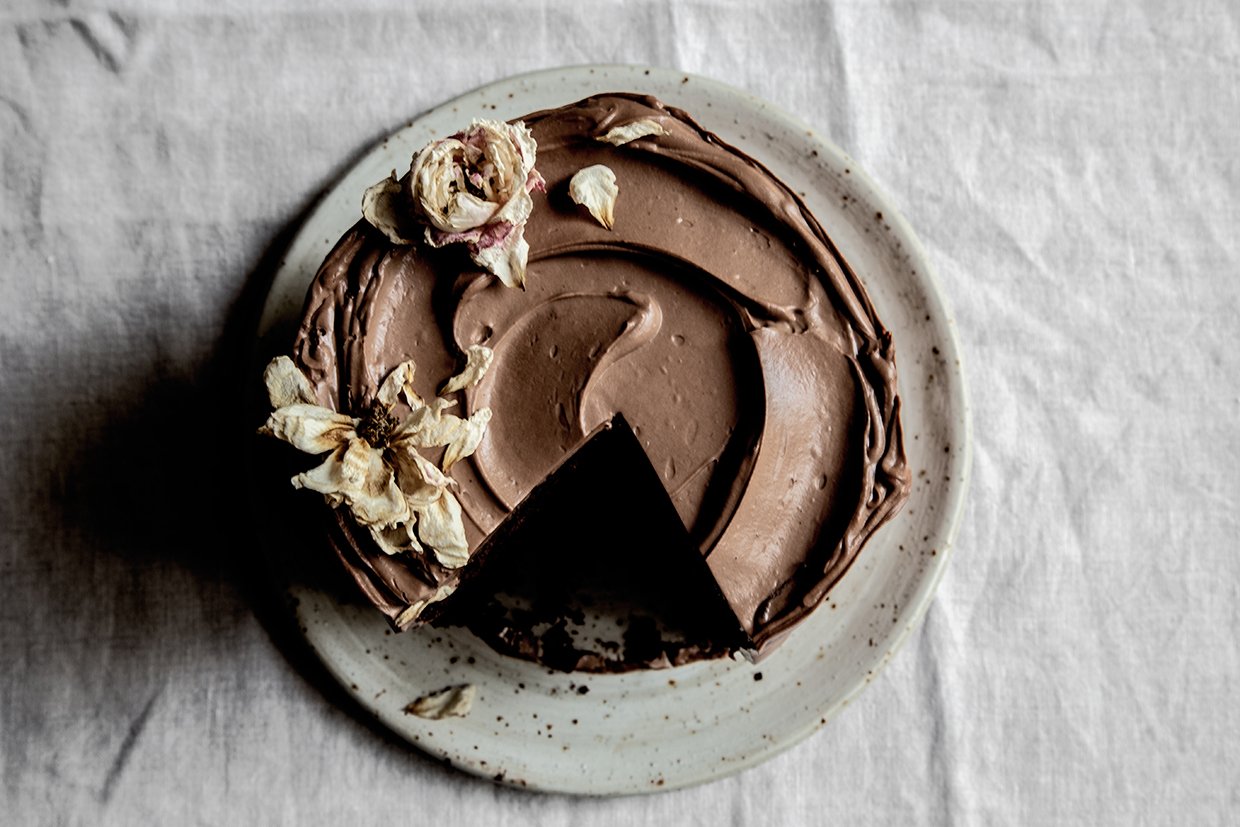
PEAR CHOCOLATE CAKE
INGREDIENTS (makes 1 cake of Ø 20 cm)
For the cake:
340 g cake flour
45 g cocoa powder
19 g baking powder
135 g dark brown sugar
85 g virgin olive oil
300 ml oat milk (or any other plant-based milk)
½ teaspoon (tsp) fine sea salt
½ tsp baking soda
½ tsp apple cider vinegar
the contents of ½ vanilla pod
½ tsp cardamon powder
For the whipped chocolate ganache:
250 g good quality dark chocolate
150 g heavy cream (soya or oat), to use for melting the chocolate
400 g heavy cream (soya or oat), to add it in the melted chocolate mix
For the dark brown sugar syrup:
2 tablespoons (tbsp) dark brown sugar
4 tbsp water
For the poached pears:
4 pears, washed + peeled
2 tablespoons (tbsp) dark brown sugar
2 tbsp granulated sugar
2 cinnamon sticks
4 cardamon seeds
a pinch of salt
For the pear confiture:
200 g pear, peeled and diced
150 g water
40 g granulated sugar
1/2 tsp pectin
2 cinnamon sticks
a pinch of salt
EXECUTION
IN ADVANCE (the day before or at least 8 hours in advance)
Prepare the chocolate ganache in advance by heating the chocolate pieces together with 150 g heavy cream in ‘bain-marie’ over low fire. When the chocolate is completely melted, stir well and add it to the rest of the heavy cream portion (400 g heavy cream). Stir well and cover the surface of the ganache with plastic wrap so that the wrap touches the surface of the ganache. Let it cool completely and then store in the refrigerator overnight (8 hours).
Prepare the cake layers:
Preheat the oven at 165°C (conventional). Prepare a spring form of 20 cm diameter by greasing it with some olive oil. In a large mixing bowl, sieve the cake flour and cocoa powder. Add the baking powder, the baking soda, the fine sea salt and mix well – using a wooden spoon or spatula.
In a second bowl, combine the oat milk, the dark brown sugar, the contents of the vanilla pod, the cardamon powder and stir well until the sugar is completely dissolved in the milk. Add the apple cider vinegar, the olive oil and stir once more.
Add gradually the dry ingredients to the wet ingredients and stir – using a wooden spoon or rubber spatula.
Transfer the dough to the spring form – that you have previously greased with some olive oil - and bake cake in preheated oven at 165°C (conventional) for 20 minutes, until you insert a wooden skewer in the middle of the cake and it comes out clean. If the dough is still wet let it bake for 5 minutes more, then check again.
When ready, remove the cake from the oven and let it completely cool on a cooling rack. Then, remove it from the spring form, wrap it in plastic wrap and store it in the refrigerator overnight or for at least 8 hours.
In the meantime prepare the dark brown sugar syrup by combining 2 tablespoons dark brown sugar and 4 tablespoons water in a small sauce pan. Stir until the sugar is completely dissolved in the water and bring the solution to a soft boil over low fire. Cook it for a few minutes (5-7mins) and remove it from fire.
Prepare the poached pears: In a pan, transfer the pears and add enough water to cover them. Add the cinnamon sticks, the cardamon seeds and the salt. Cook until soft. Remove them from the liquid and let them cool on a cooling rack. When cool, store them in the fridge in an airtight container until you use them for the cake.
Prepare the pear confiture:
In a pan, cook the diced pear with 40 g granulated sugar, water, and 2 cinnamon sticks. After approximately half hour, add the pectin, stir well for a few minutes and remove from fire. When ready and thick let it completely cool before you store it in the fridge in an airtight container.
THE NEXT DAY (or 8 hours later)
Take the chocolate ganache out of the refrigerator and let it rest at room temperature. In a stand or hand mixer - with the whisk attachment on – beat the ganache until it increases in volume and its colour is lighter. You can transfer the whipped chocolate ganache to an icing bag with tip to apply it easier on the cake.
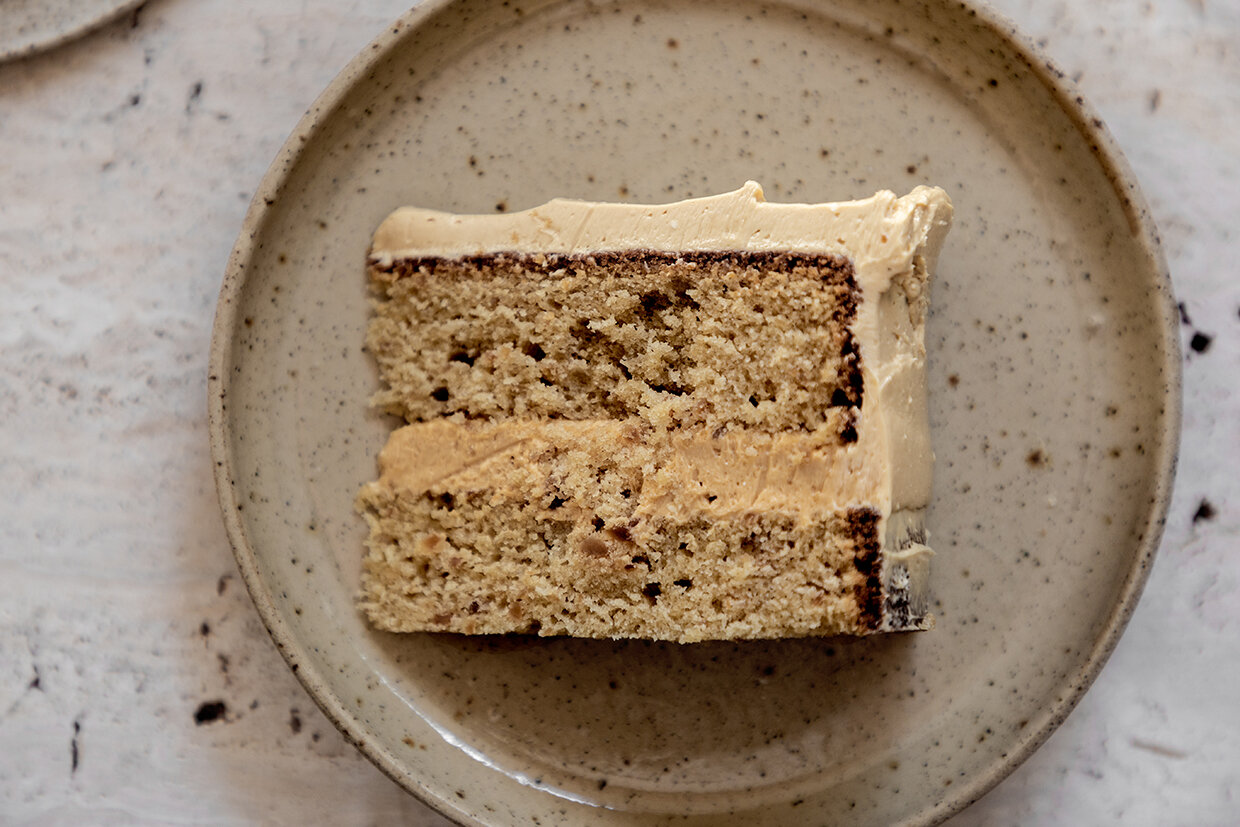
Take the cake out of the refrigerator and slice it halfway to create two even cake disks.
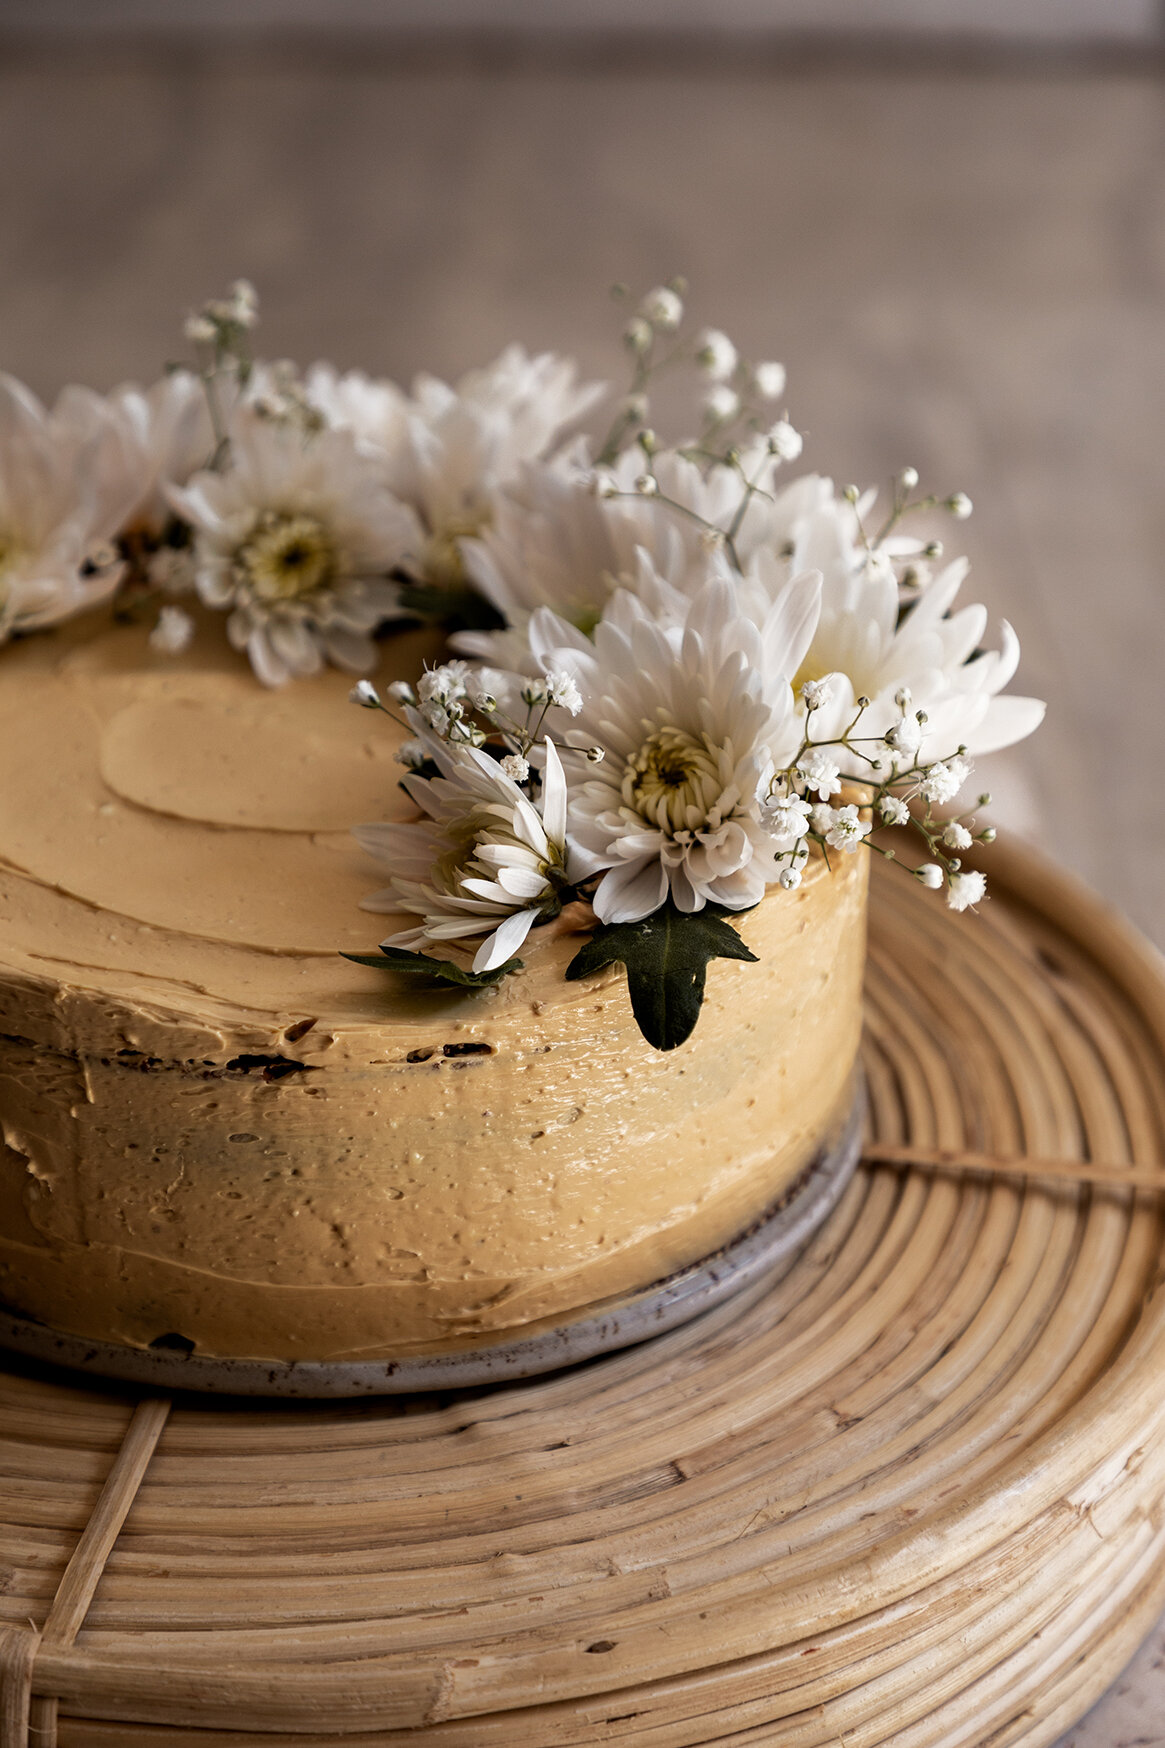
On a serving plate, place the first cake layer and drizzle it with some of the dark sugar syrup. Then apply a generous portion of chocolate ganache and dots of pear confiture. Place the second cake layer on top and drizzle with some of the brown sugar syrup. Add another one generous portion of whipped chocolate ganache on top and cover the sides of the cake with some more chocolate ganache. Smooth it using a palette knife.
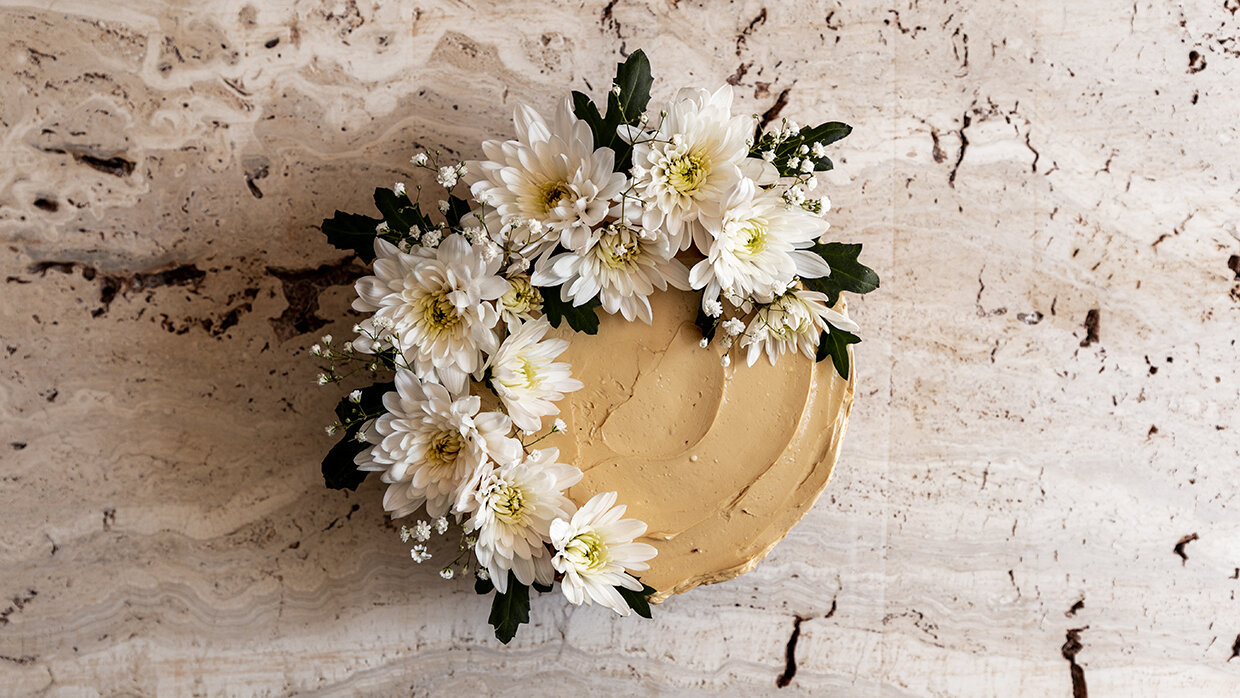
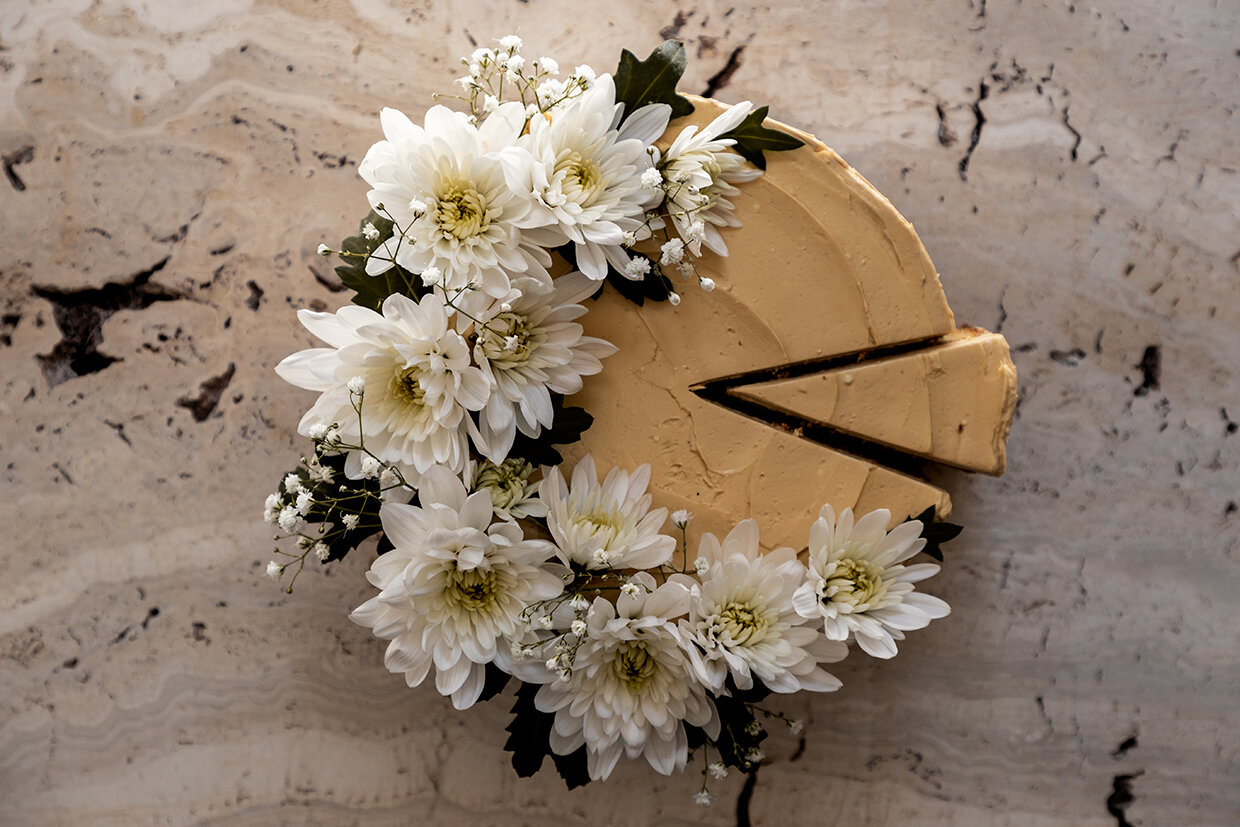
Decorate the cake with the poached pears and sprinkle some cocoa powder for an extra kick of chocolate flavor.
NOTES
- It is advised to make the chocolate ganache and cake layers one day in advance. This will allow the chocolate ganache to firm up and be more stable for whipping. Similarly, the cake will be more stable and less likely to break when building the final cake.
- I choose to add some syrup on the cake layers to keep them moist and fresh for a longer time. However, this is optional and you may always skip this step and add some more sugar in the dough of the cakes to balance out the sweetness.
- You can play around with different variations of the cake changing the fruit according to the season. You could also opt for ready made fruit jam to speed up the recipe process a bit.
X
Alexandra