SOURDOUGH FOCACCIA


Cloudy crumb with a crunchy crust. Best eaten soaked in olive oil and scented with mediterranean herbs. Leavened with a combination of baker’s yeast and wild yeasts + lactic acid bacteria found in sourdough to enrich the flavor profile of the bread. A recipe not to be missed!


SOURDOUGH FOCACCIA 

INGREDIENTS (one rectangular focaccia of 21 x 28 cm)

For the poolie

½ tsp dry baker’s yeast
65 g bread flour
65 ml lukewarm water 

For the bread 

340 g bread flour
220 ml lukewarm water
60 g sourdough starter
poolie (recipe above)
2 tablespoons (tbsp) olive oil
1 teaspoon (tsp) fine sea salt 

Toppings

12 cherry tomatoes, halved
fresh thyme sprigs
sea salt flakes for sprinkling 

EQUIPMENT 

1 rectangular aluminum baking tray of 21 x 28 cm and at least 5 cm deep
Stand or hand mixer
Rubber spatula
Food container with lid
Baking stone or cast iron tray

EXECUTION
For the poolie:
Let the baker’s yeast bloom in 25 ml water at a warm spot for ½ hour. Then add the rest of lukewarm water, the 65 g bread flour and mix well. Let it bloom at a warm spot (close to a heater during winter time) for ½ hour.
When bloomed, add 60 g homegrown sourdough starter, 220 ml lukewarm water and mix well.
In a stand mixer - with the hook attachment - add 340 g bread flour and the yeast – sourdough – water solution. Mix on low to medium speed until the flour is fully hydrated and let the dough autolyse for at least ½ hour.
Then add the salt and a few drops of water so that the salt slightly melts and knead the dough for 3-4 minutes. Stop kneading for 2 minutes and continue with another 3 cycles of kneading and pausing.
Lastly, run a kneading cycle of 4 minutes on low-medium speed. Add slowly 2 tablespoons olive oil while kneading at a low speed. Continue kneading until the olive oil portion is well incorporated in the dough. Push down the dough from the sides of the bowl and transfer it in a food container smeared with some olive oil.
Fold the dough 4 times, cover the container with the lid and let the dough ferment in the refrigerator overnight (8-9 hours).
The next day, take the dough out of the refrigerator and let it rest at room temperature (20°C - 25°C) for at least half hour to a full hour.
Transfer the dough to the rectangular baking tray and let it proof at a humid and warm spot for 60 to 90 minutes until it has doubled in size.
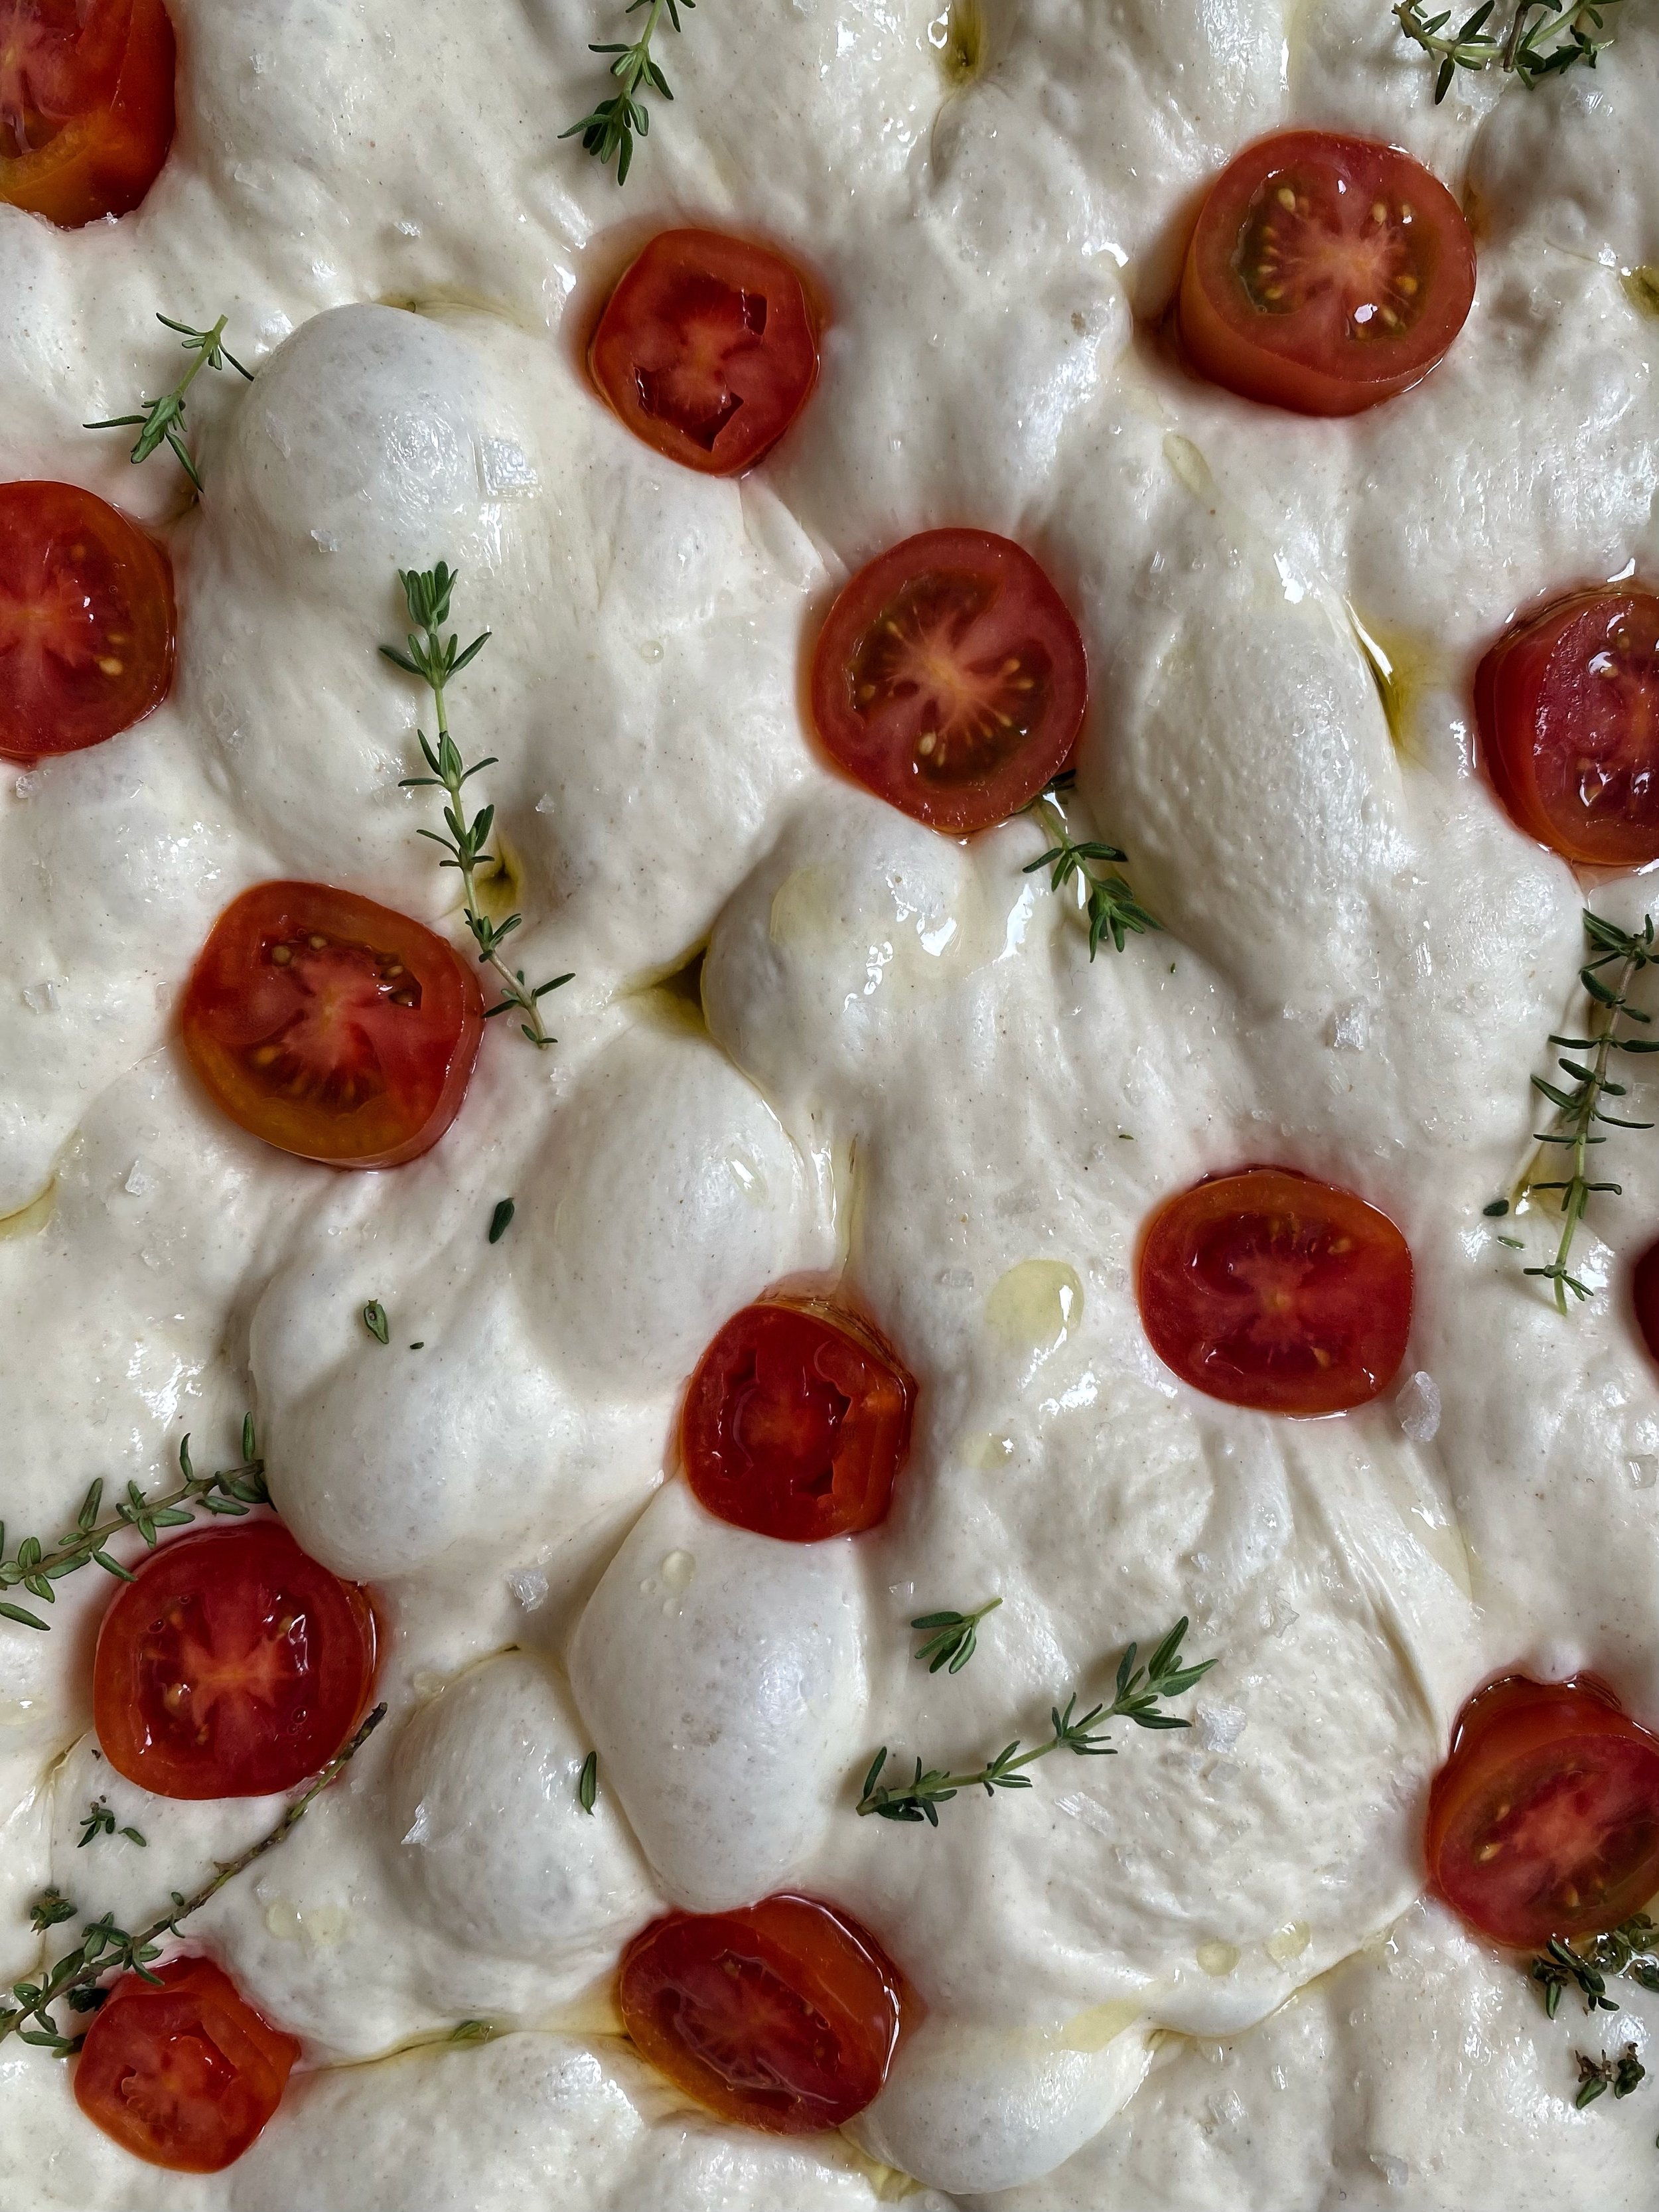
Poke deep dents on the dough - using your fingers – to create the focaccia texture. Add the halved cherry tomatoes, the fresh thyme and sprinkle with some sea salt flakes.
Preheat the oven at 220°C with a baking stone or cast iron plate inside. Place the baking tin with the focaccia on the preheated baking stone or cast iron and bake the focaccia for 20-25 minutes until golden brown and crispy on the outside. Enjoy it with some pure olive oil and some extra sea salt flakes. Simplicity is everything!

NOTES

1: If the temperature of your refrigerator is below 4°C, wrap the food container in a kitchen towel and place this in a plastic bag. In that way the dough will not freeze and it will be able to ferment efficiently.

2: If you have a microwave oven you can use it as a proof chamber. Choose a baking tray that fits in your microwave oven. Place your dough loaded baking tray in the oven together with 2 cups filled with boiling water and let the dough proof with the oven door closed. 

X

Alexandra

CHOCOLATE FUDGE SPRING CAKE


A celebration of the season with chocolate and foraged wild spring flowers.


INGREDIENTS (makes 1 layered cake of 20 cm ⌀)

For the chocolate fudge cake layers:

190 g cake flour
190 g granulated sugar
180 g good quality butter, softened at room temperature 
128 g cocoa powder, Dutch processed 
1 + ½ teaspoon (tsp) baking soda
1 tsp baking powder
½ tsp fine sea salt
2 eggs at room temperature
240 ml buttermilk 

For the whipped chocolate ganache:

200 g good quality dark chocolate with a minimum 50% cocoa
150 g heavy cream, to use for melting the chocolate
350 g heavy cream, to add it later 

EQUIPMENT 

3 spring forms of 20 cm ⌀
Stand or hand mixer
Knife
Cutting board
Whisk
Rubber spatula
Cooking pan + bowl (for the bain marie)
Mixing bowl
2 Icing bags
Icing tips with the shape of your preference (I used a round one with 14 mm ⌀ and an open star)

EXECUTION

Prepare the chocolate ganache one day in advance:

Chop the chocolate in small pieces. In ‘bain-marie’, over low fire, warm up the chocolate together with 150 g heavy cream, until the chocolate melts. Remove it from fire and emulsify it - using a beamer or a whisk. Let it cool to room temperature and then add the remaining 350 g heavy cream. Cover the ganache with a piece of plastic wrap so that it touches the surface of the ganache and let it rest overnight in the fridge. 

For the chocolate fudge cake layers: 

Grease the round spring forms with a generous layer of good quality butter and set them aside for later.
In a large mixing bowl, sieve in the cake flour, the cocoa powder, the baking soda, and the baking powder. Add the sea salt and mix well – using a whisk.
In a stand or hand mixer – with the paddle attachment on – beat the softened butter for 2-3 minutes. Then add the sugars, and the contents of the vanilla pod. Cream it for another 7 minutes until the butter is lighter in color and texture. 
Add one egg and mix until it is completely incorporated. Then add the second egg and beat to a smooth mixture.
Gradually add 1/3 of the dry ingredients (cake flour, cocoa powder, baking soda, baking powder, sea salt) and 1/3 of the buttermilk. Mix well. Continue with the rest portion of ingredients and mix well to a smooth and homogenous batter.
Divide the dough portion to your spring forms. Bake the cakes in preheated oven at 170°C (conventional) for 35-40 minutes until you insert a wooden skewer in the middle of the cakes and it comes out clean. When ready, let them cool completely on a cooling rack before frosting them.
When the cakes are cool, cut their upper part to create even cake disks for the built up.
Remove the chocolate ganache from the fridge, and let it rest at room temperature for at least 30 min before using it.
Then, in a stand or hand mixer - with the whisk attachment on - beat the ganache for 2-3 minutes until it has doubled in volume, it is fluffy and slightly lighter in color.
Transfer 2/3 of the whipped ganache portion in an icing bag with a round icing tip of 14 mm ⌀ and the rest in an icing bag with an open star tip. This is what I did but you can use any other tip of your preference.
Start building the cake by placing the first cake layer on a plate and stabilize it with a small dollop of whipped chocolate ganache.
Add some of the whipped chocolate ganache to create the first whipped ganache layer by adding ganache dollops in a spiral arrangement from the outer edge of the cake disk towards the center. Continue by adding the second cake layer and then the second whipped ganache layer. Lastly add the third cake layer on top and create a pattern with whipped ganache dollops in different shapes.
Decorate the cake with foraged spring flowers such as chamomile, dandelion and daisies.

NOTES


1: When the cake layers are completely cool, place the in the fridge for at least 30 minutes so that the containing fat in the cake firms up. In this way the cakes are going to be more compact and it will be easier to cut their tops off.
2: In order to keep the cake layers moist drizzle them with some light syrup you can make by boiling 4 tablespoons sugar with 150 ml water for 2-3 min.
3: If you don’t have icing bags use a ziplock bag and cut off one of the bottom corners of the bag and it is ready!

X

Alexandra